Homemade Milk Chocolate Recipe 🍫
Making milk chocolate at home is a delightful and rewarding experience, perfect for chocolate lovers and those looking to create treats with wholesome ingredients. This simple recipe uses easily available ingredients and doesn’t require any special equipment, making it accessible even for beginners. The resulting chocolate is smooth, creamy, and absolutely delicious—far better than most store-bought varieties.
Why Make Milk Chocolate at Home? 🤔🤔
There’s something special about crafting chocolate from scratch. Not only do you control the quality of ingredients, but you also avoid preservatives and artificial additives. Homemade milk chocolate is customizable—you can adjust the sweetness, add flavors, or include crunchy mix-ins to suit your preference. It’s also a fun kitchen project to do with kids or friends!
**Ingredients Needed**
- 1/2 cup cocoa powder (unsweetened, high-quality)
- 1/4 cup powdered sugar (adjust to taste)
- 1/4 cup coconut oil (refined, neutral flavor)
- Pinch of salt
**Step-by-Step Method**
Select a silicone chocolate mold or line a small tray with parchment paper. Set aside.
In a mixing bowl, sift together cocoa powder, milk powder, and powdered sugar to ensure there are no lumps. This step is crucial for a smooth chocolate texture.
3. **Melt Coconut Oil:**
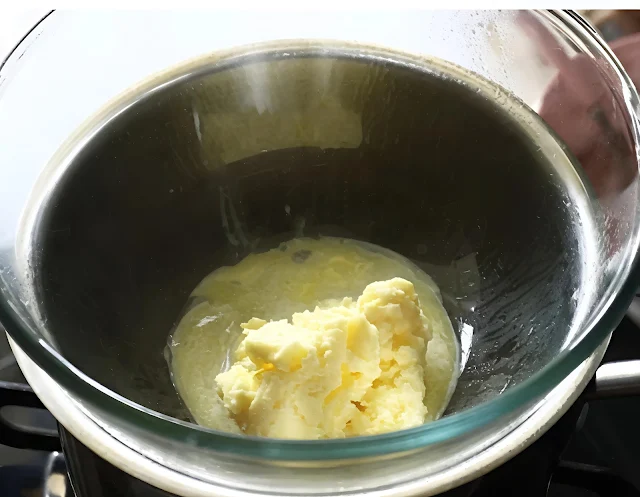
In a small saucepan, gently melt the coconut oil over low heat. Coconut oil solidifies at room temperature, helping the chocolate set perfectly.
4. **Combine:**
Pour the melted coconut oil into the sifted dry ingredients. Mix well until you get a smooth, glossy mixture without lumps.
5. **Add Flavors:**
Stir in vanilla extract and a pinch of salt. Vanilla enhances the chocolate flavor, while salt balances sweetness.


6. **Pour into Mold:**
Carefully pour the chocolate mixture into the prepared mold or tray. Tap gently to remove air bubbles and ensure an even surface.
7. **Set the Chocolate:**
Place the mold in the refrigerator and allow the chocolate to set for at least 2 hours or until it is firm to the touch.
Once set, gently remove the chocolate from the mold. Your homemade milk chocolate is now ready to be enjoyed!
**Tips for Perfect Homemade Chocolate**
- **Use Good-Quality Cocoa Powder:** The flavor of your chocolate depends largely on the quality of cocoa you use.
- **Sweetener Options:** You can substitute powdered sugar with icing sugar, jaggery powder, or brown sugar for unique flavors.
- **Coconut Oil Substitute:** If you prefer, use cocoa butter for a more authentic chocolate taste and a firmer set. However, coconut oil works well and is widely available.
- **Flavor Variations:** Try adding a pinch of cinnamon, instant coffee powder, or orange zest for a gourmet twist.
- **Add-Ins:** Stir in chopped nuts, dried fruits, or crispy rice before pouring the mixture into molds for extra texture.
- **Storage:** Store your homemade chocolate in an airtight container in the refrigerator, especially in warm climates, as coconut oil melts easily.
**Frequently Asked Questions**
**1. Can I make this chocolate vegan?**
Yes, simply use plant-based milk powder (such as coconut or soy milk powder) and ensure your cocoa powder and sugar are vegan-friendly.
**2. Why does my chocolate taste oily or grainy?**
Be sure to sift the dry ingredients thoroughly and mix well with the melted coconut oil. If the mixture splits, try blending it for a smoother texture.
**3. Can I use this recipe for chocolate coatings?**
Absolutely! This chocolate melts beautifully and can be used to coat cookies, fruits, or nuts. Just melt gently before using as a dip.
**4. How long does homemade chocolate last?**
When stored in the refrigerator in an airtight container, homemade milk chocolate keeps well for up to two weeks.
**Final Thoughts**
Homemade milk chocolate is a delicious treat that’s easy to make and endlessly customizable. Whether you’re gifting it, sharing with family, or indulging yourself, this recipe ensures a delightful bite every time. Experiment with flavors and shapes, and enjoy the magic of chocolate-making right in your own kitchen!


0 Comments